大体描述:
大体意思是用eclipse ee创建一个Javaweb项目,该项目能从MySQL数据库中获取user表的数据,将数据封装成json格式,将此项目发布到本地Tomcat服务器,在android端获取刚才的json数据,并用listview显示。废话不多说下面直接开始。
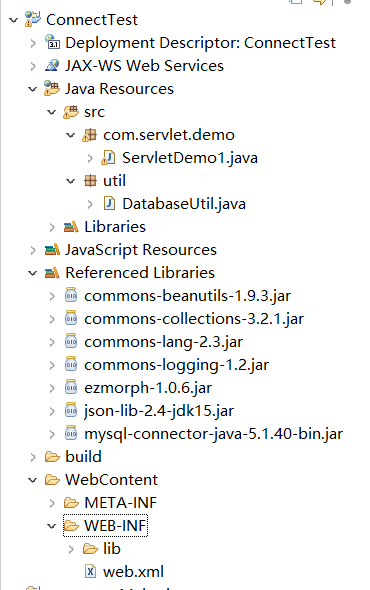
Tomcat服务器端
很简单,建立一个servlet用来处理数据,再建一个数据库工具类,我这里是DatabaseUtil.java,不要忘记servlet在web.xml中需要注册。
项目结构:
code:
ServletDemo1.java
1 | package com.servlet.demo; |
DatabaseUtil.java
1 | package util; |
web.xml
1 | <?xml version="1.0" encoding="UTF-8"?> |
本地测试结果
在浏览器地址栏里输入(端口啥的自己改了的话用自己的,不多说)1
http://localhost:8080/ConnectTest/ServletDemo1
测试结果:

android端
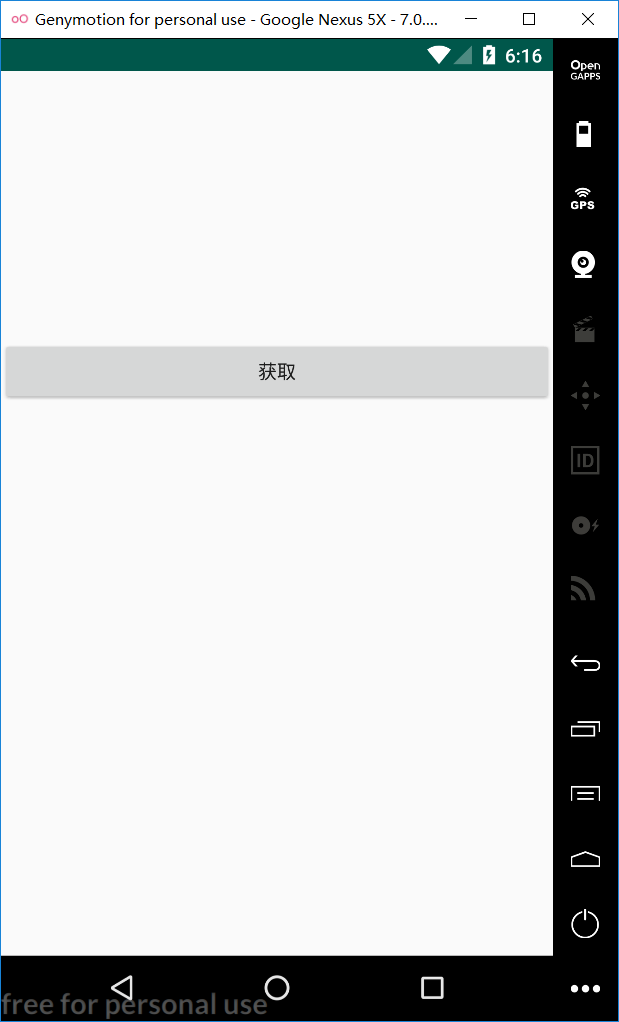
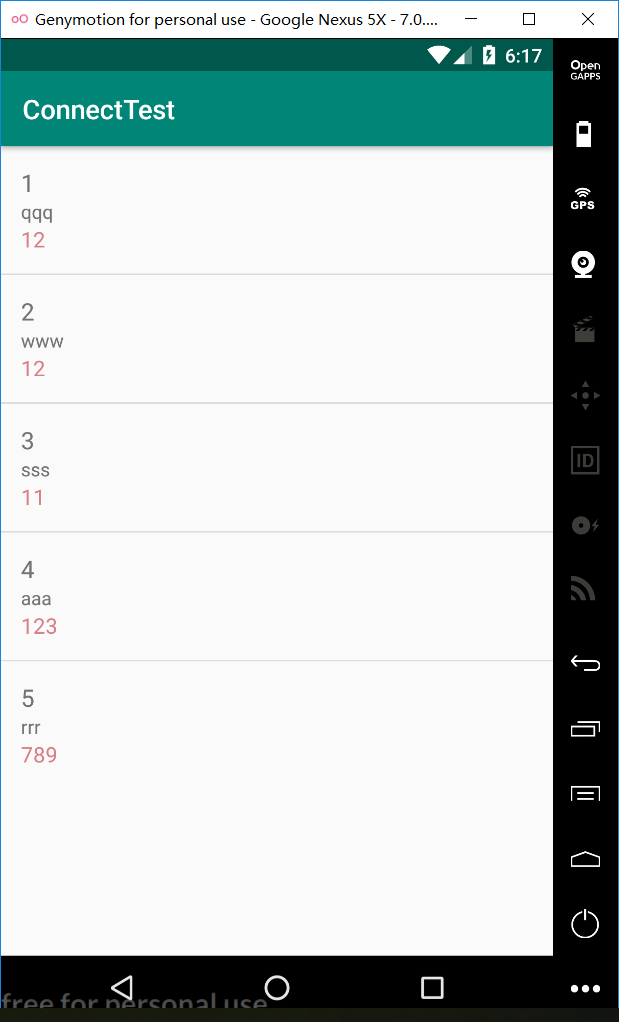
也比较简单,有两个activity,在mainactivity中有个button按钮,点击后跳转到第二个activity,我这里是ListActivity ,在listactivity中显示获取到的json数据。
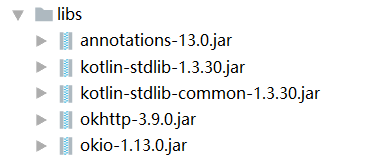
用到的jar包
类
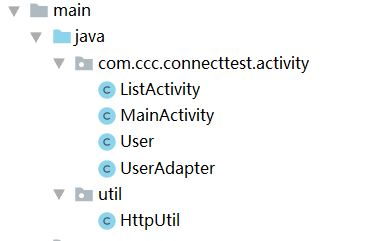
布局
code
工具类 HttpUtil
1 | package util; |
实体类 User
1 | package com.ccc.connecttest.activity; |
适配器 UserAdapter
1 | package com.ccc.connecttest.activity; |
显示的页面 ListActivity
1 | package com.ccc.connecttest.activity; |
主页面 MainActivity
1 | package com.ccc.connecttest.activity; |
配置 AndroidManifest.xml
1 | <?xml version="1.0" encoding="utf-8"?> |
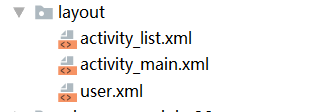
布局
activity_main.xml:
1 | <LinearLayout xmlns:android="http://schemas.android.com/apk/res/android" |
activity_list.xml:1
2
3
4
5
6
7
8
9
10
11
12<?xml version="1.0" encoding="utf-8"?>
<LinearLayout xmlns:android="http://schemas.android.com/apk/res/android"
android:layout_width="match_parent"
android:layout_height="match_parent"
android:orientation="vertical">
<ListView
android:id="@+id/lv"
android:layout_width="match_parent"
android:layout_height="wrap_content"/>
</LinearLayout>
listview每一项适配文件: user.xml
1 | <?xml version="1.0" encoding="utf-8"?> |
结果图