概述
AndroidJetpack架构组件套件之一
简化了Android应用程序中导航的实现
官网地址 https://developer.android.google.cn/topic/libraries/architecture/navigation/
- 这里只是简单的学习一下,实际项目中并未用到,用到再去官网详细学吧
组成
导航组件由以下三个关键部分组成:
- 导航图:在一个集中位置包含所有导航相关信息的 XML 资源。这包括应用内所有单个内容区域(称为目标)以及用户可以通过应用获取的可能路径。
NavHost:显示导航图中目标的空白容器。导航组件包含一个默认NavHost实现 (NavHostFragment),可显示 Fragment 目标。NavController:在NavHost中管理应用导航的对象。当用户在整个应用中移动时,NavController会安排NavHost中目标内容的交换。
使用
1.要求
目前仅在Android Studio 3.2(目前是preview)版本以上才支持
2.添加项目依赖
1 | // navigation |
3.创建Navigation
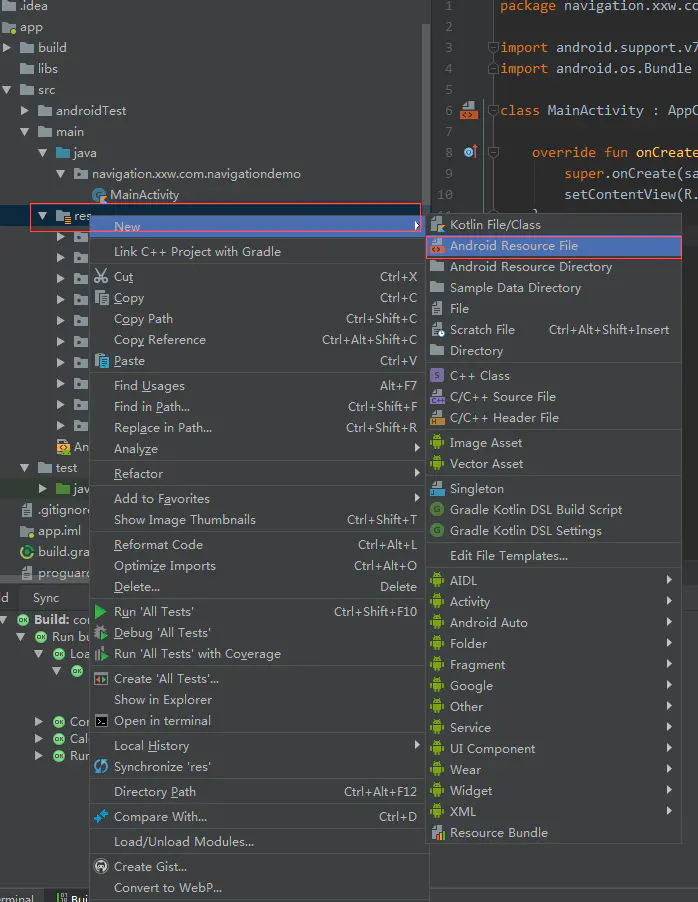
res文件夹,选中点击右键选择New > Android resource file. 如下图:
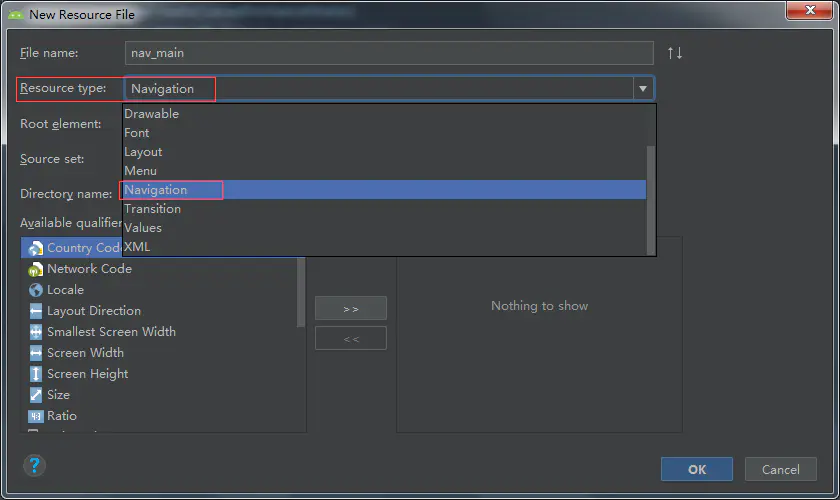
- 在弹出的对话框中,
File name一栏,填写例如”nav_main”,Resource type一栏选择Navigation,然后点击OK,如下图:
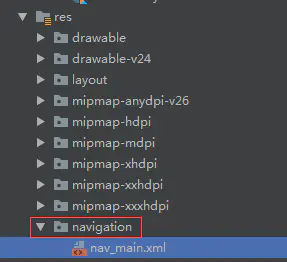
- 创建好之后,会发现在
res文件夹目录下面,会自动生成一个navigation文件夹,然后刚才我们创建的xml文件nav_main也放在里面,如下图:
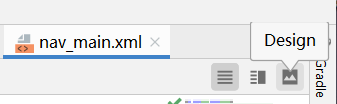
- 打开
nav_main.xml,选中design模式
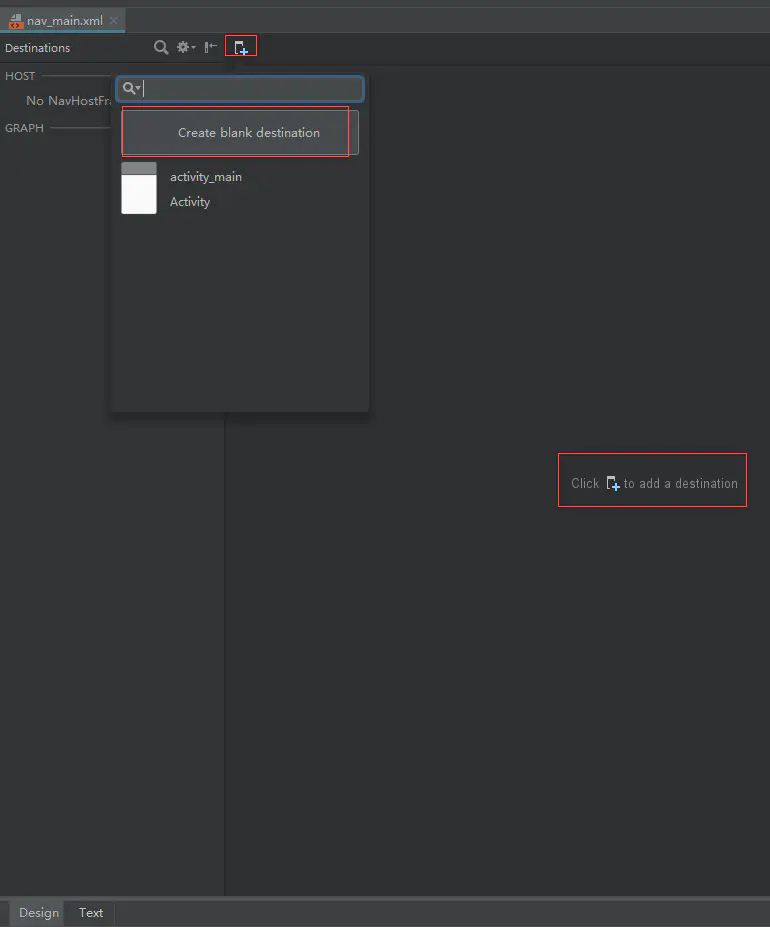
- 进入
design模式后,点击下面这个New Destination按钮

- 选择
Create blank destination
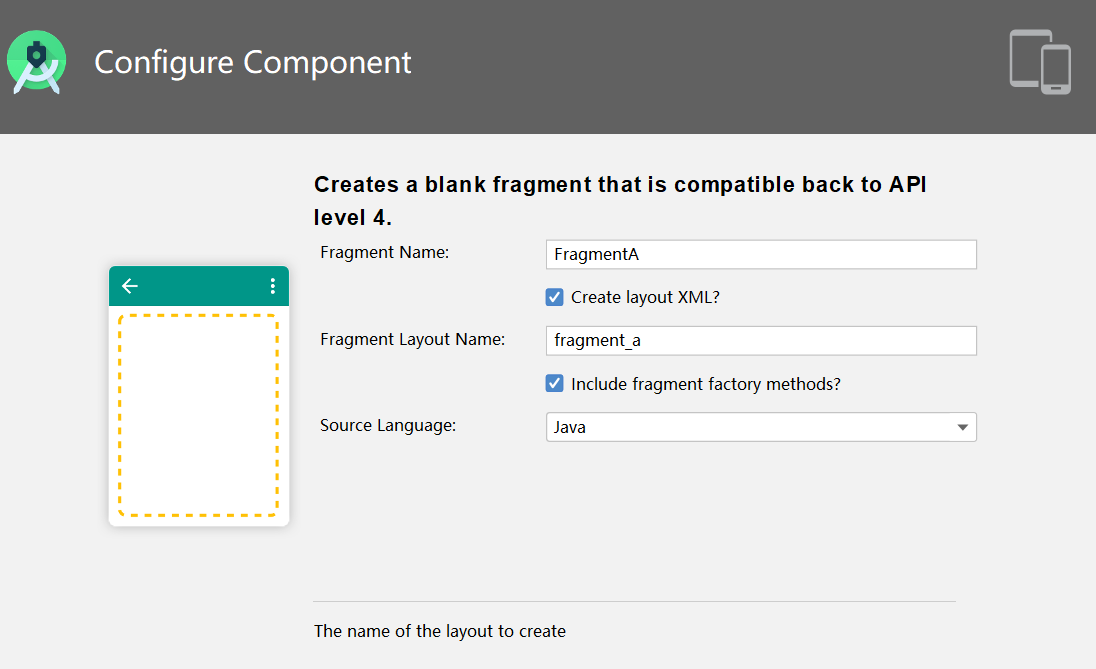
命名Fragment名称为FragmentA,如下图
那个 include fragment factory methods? 选中的话会帮你自动重写一些fragment的方法,像onCreate(),onCreateView()和构造方法等,看起来会有点乱,自己实现也行
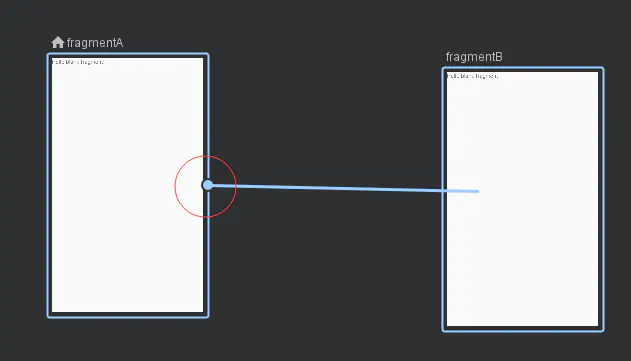
- 同上,再创建一个
FragmentB - 在
design模式下,创建导航链接,鼠标点击FragmentA右边中间圆圈不放拖动到FragmentB上释放鼠标即可,如下图:
- 点击切换到
Text模式,对应nav_main.xml对应生成的代码如下:
1 |
|
说明:
里面有两个
fragment标签,就是我们刚才创建的页面A和B。其中
fragmentA中的action是一个节点,destination就是要导航到fragmentB。这个就是我们刚才上一步创建导航连接自动实现的代码。
MainActivity里面对应不需要任何操作,设置好布局即可
1 | public class MainActivity extends AppCompatActivity { |
- 接下来,在
activity_main里面创建一个fragment
1 |
|
来说明一下后面三个属性
name属性,指定在布局中要实例化
NavHostFragmentnavGraph属性,是将
NavHostFragment与我们刚才创建的navigation进行关联defaultNavHost属性,
app:defaultNavHost="true",意思是NavHostFragment来拦截系统返回按钮
下面来实现页面跳转和数据传递
fragment_a.xml如下设置
1 |
|
fragment_b.xml如下设置:
1 |
|
- 在
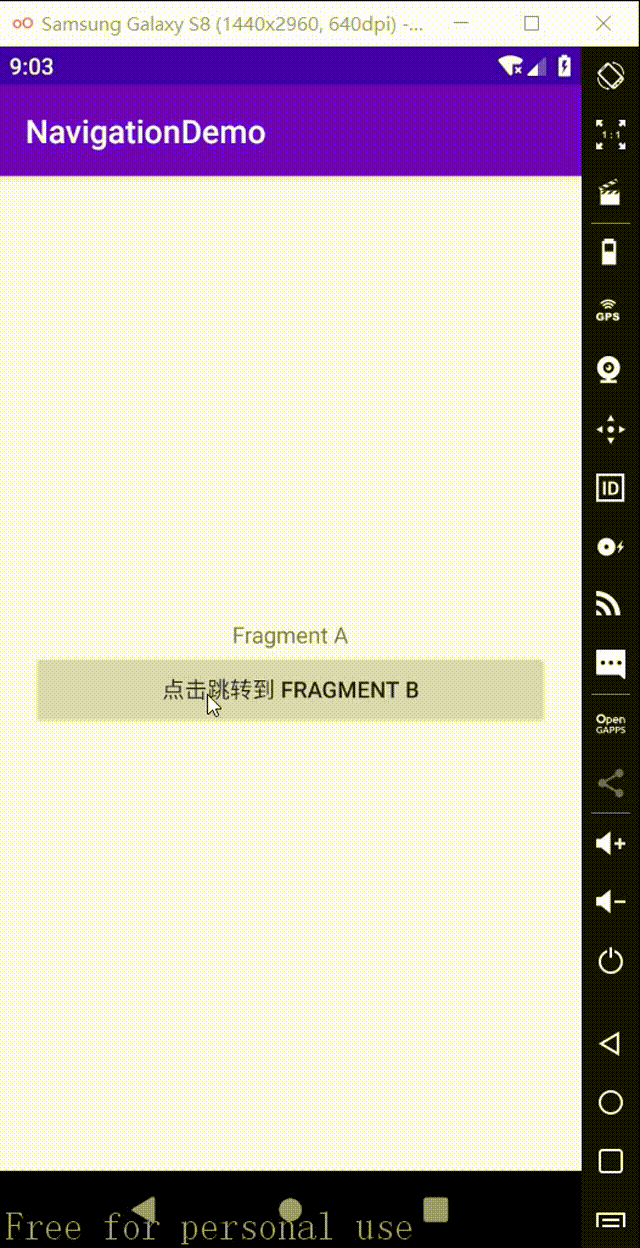
FragmentA中添加Button点击跳转事件,跳到FragmentB
1 | public class FragmentA extends Fragment { |
说明
- 这里的 id = action_fragmentA_to_fragmentB,就是上面设置的导航action的id

传递参数
- 方式1:通过Bundle方式
1 | // 传递参数 |
b页面接收:
1 | //通过 getArguments 来获取传递的参数 |
- 方式2:使用Safe Args 传递安全的数据
这玩意比较麻烦感觉,用到时候去官网再学吧
https://developer.android.google.cn/guide/navigation/navigation-pass-data#Safe-args
- 运行一下,看一下效果。